0

Clinique Superbalanced Foundation Review !

Hey guys !

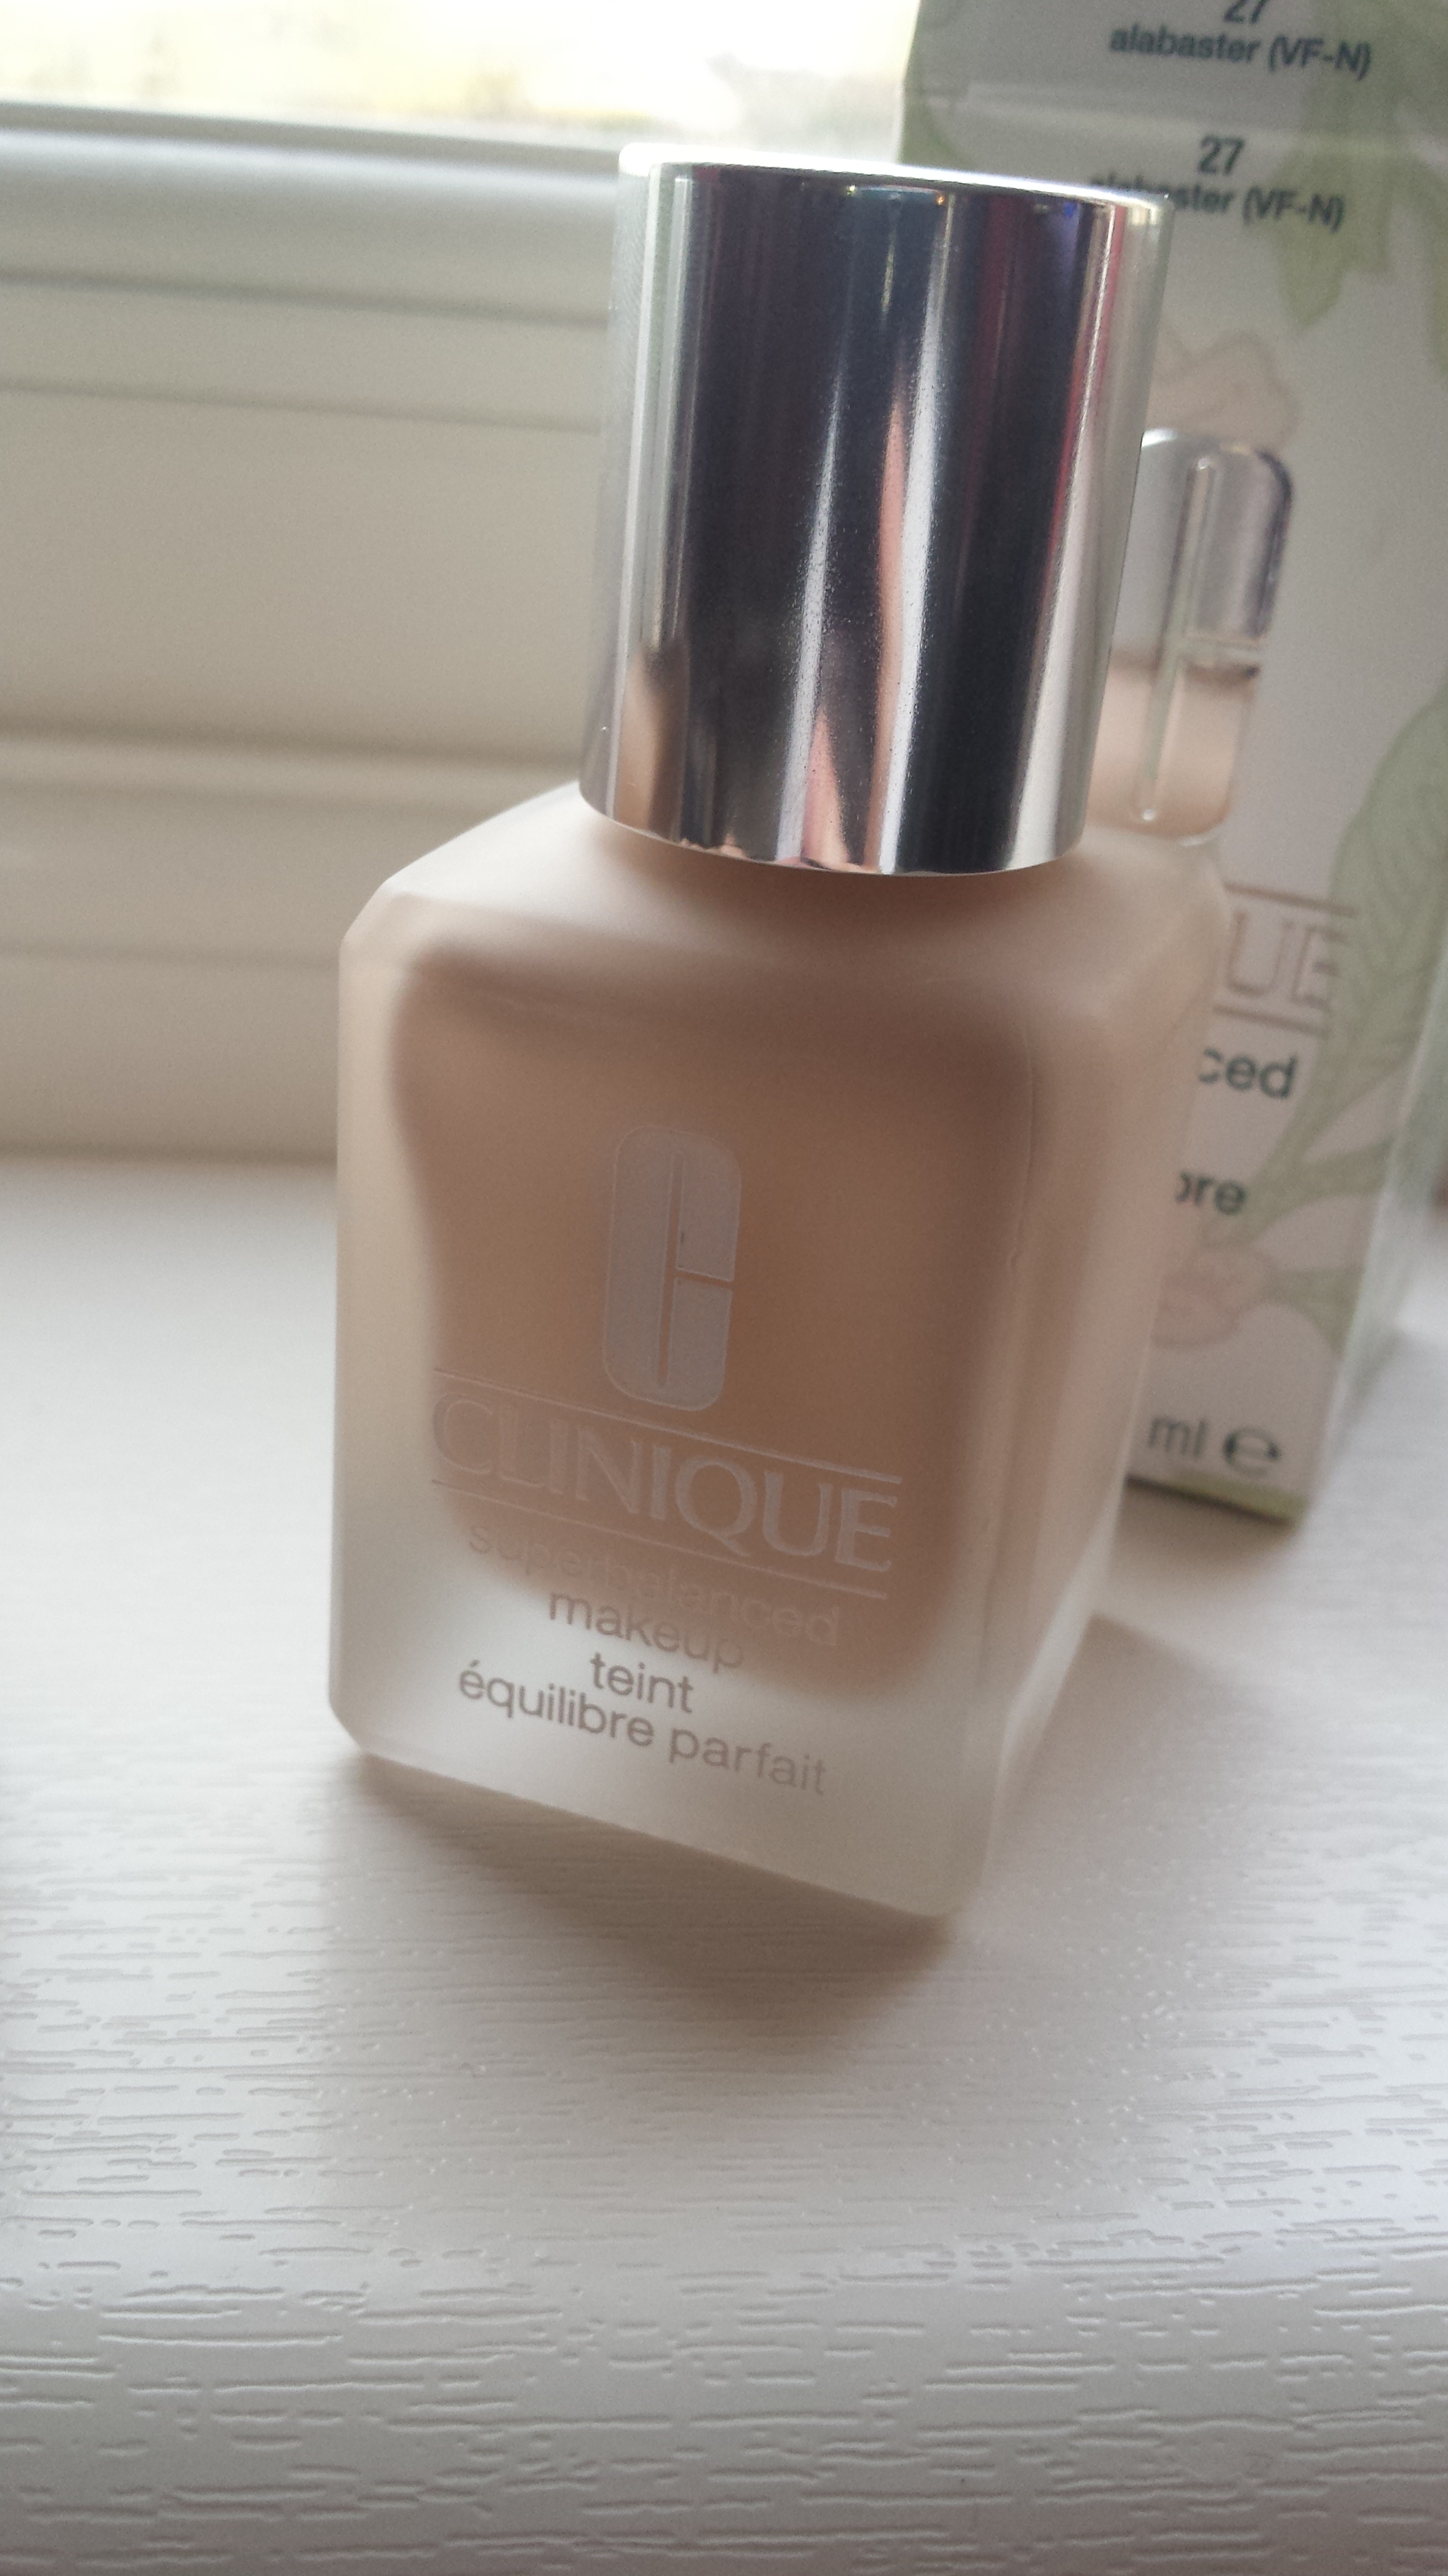
So in this post I will be reviewing my latest foundation. I decided to wait a few months to review this product, until the bottle was completely finished and I could give you all the best review possible on it.
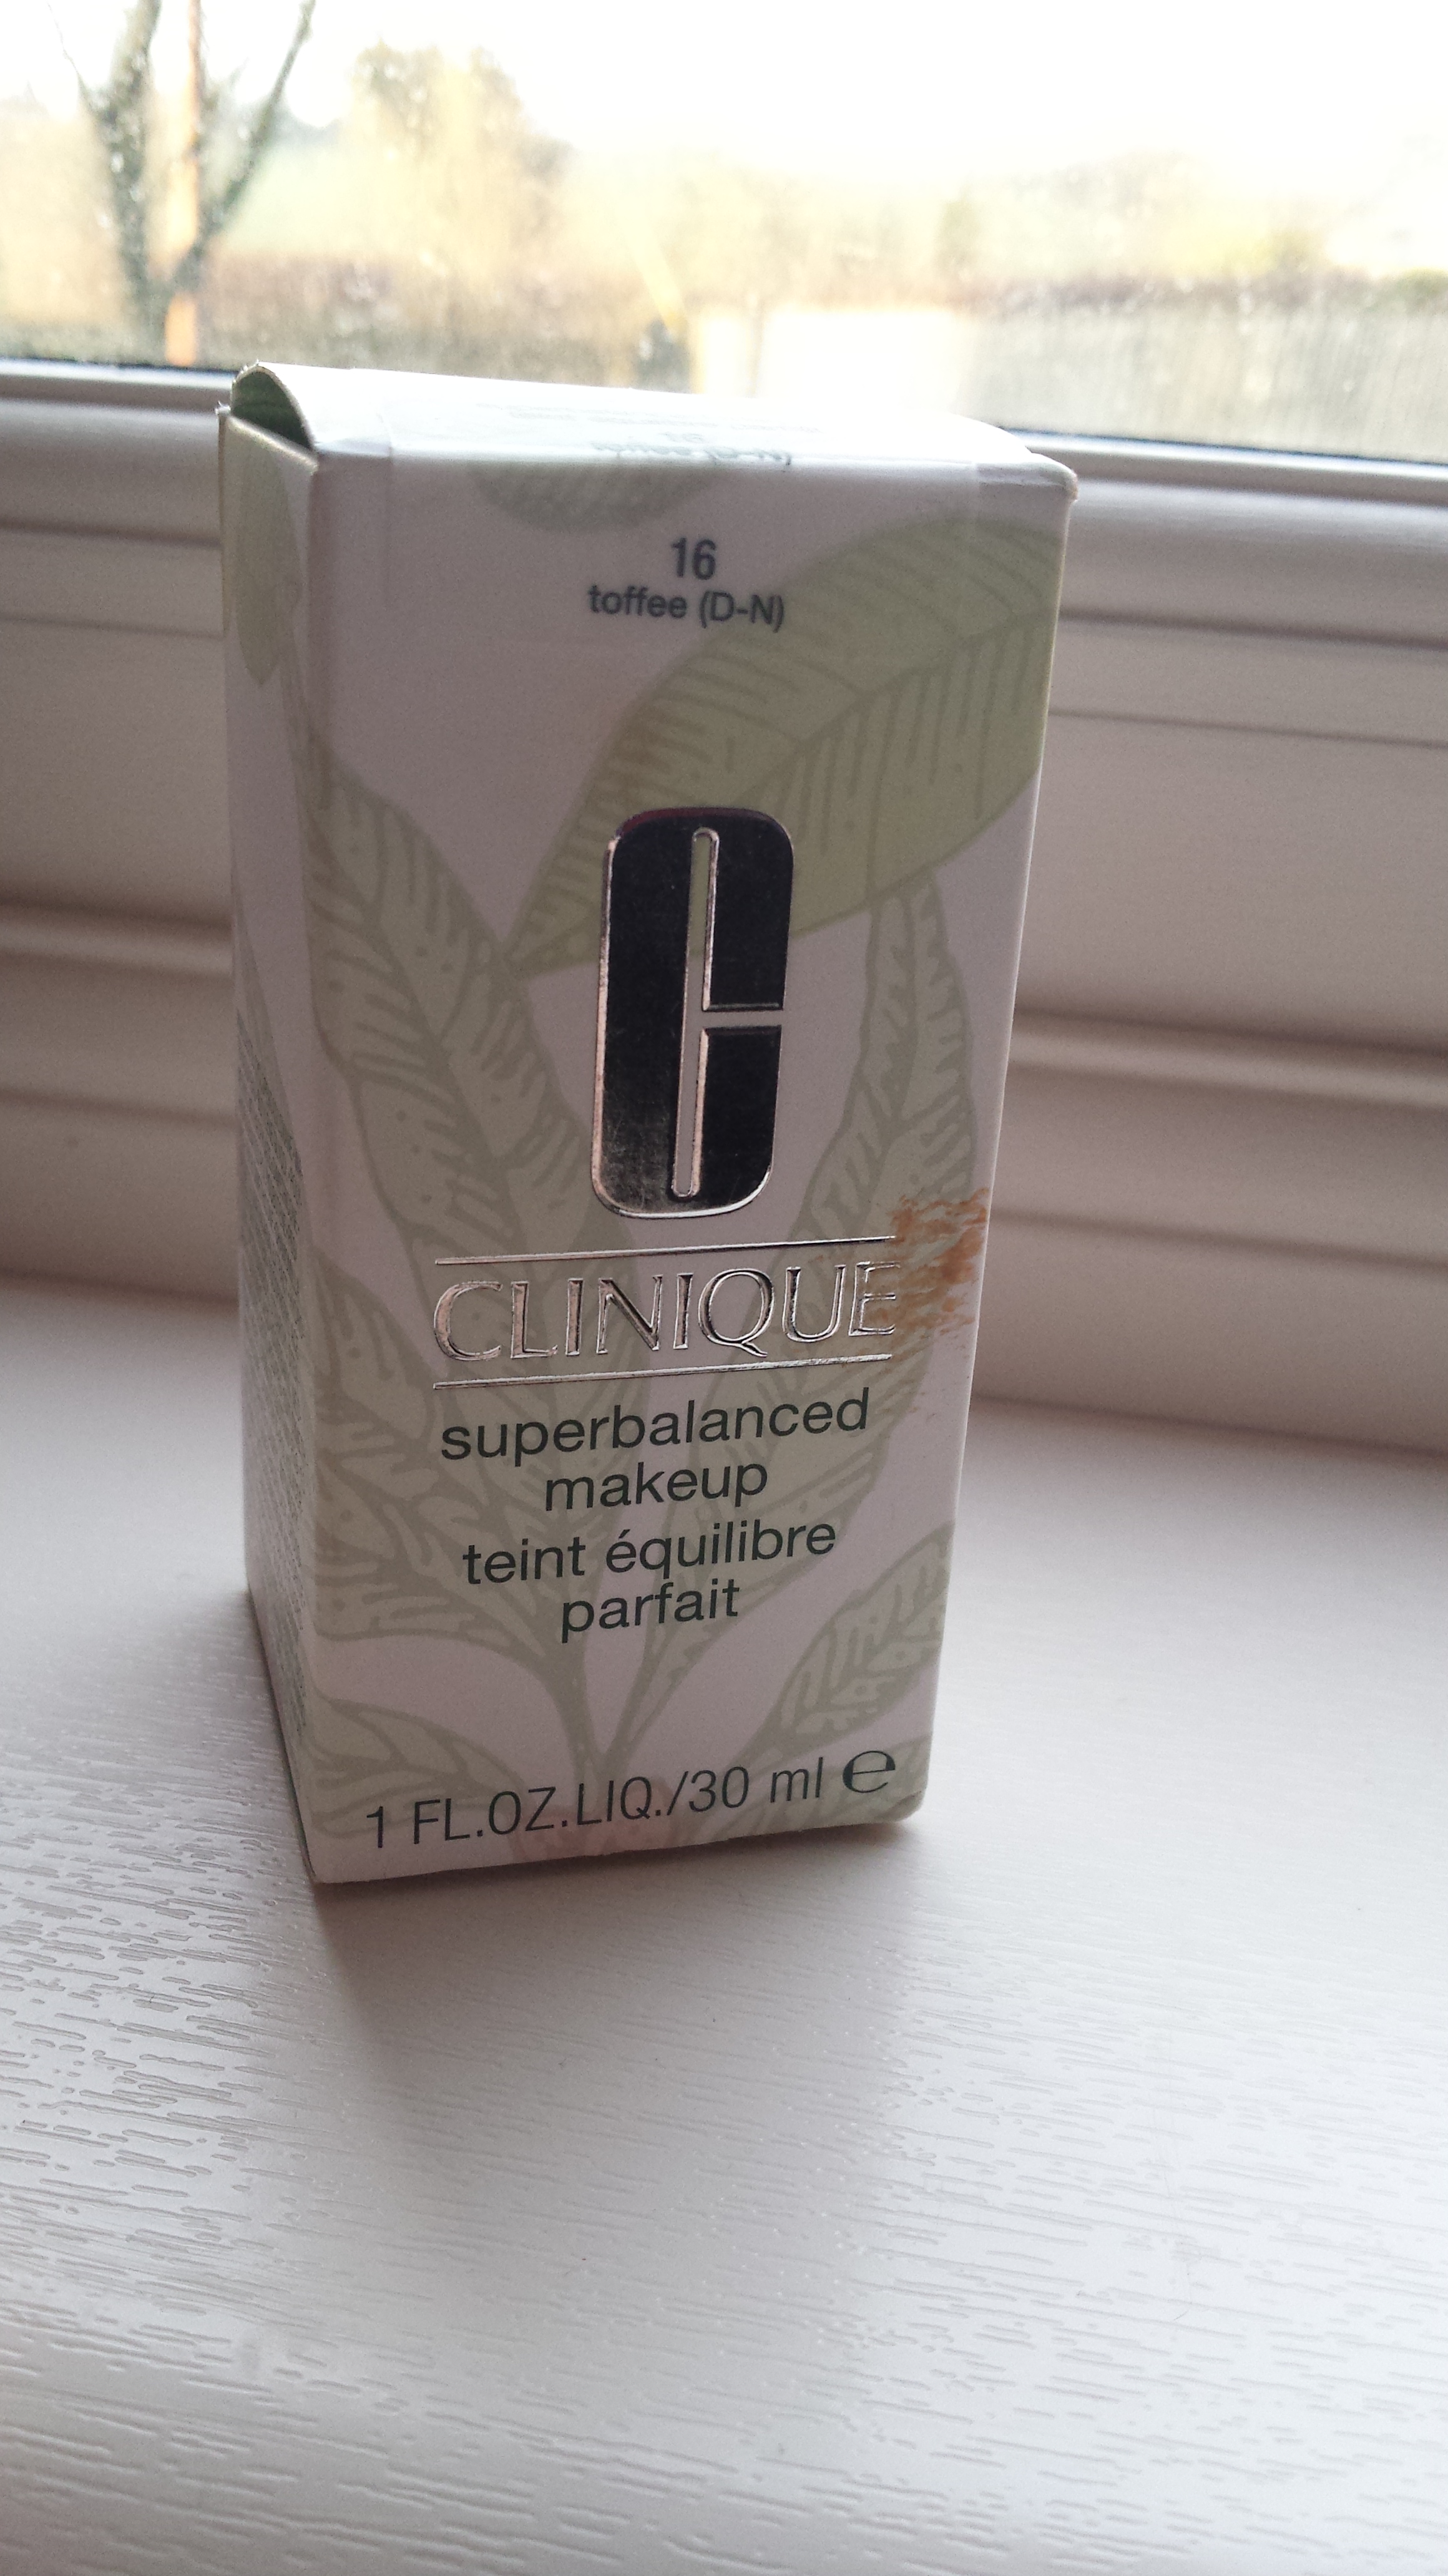
 

20141127_152553

How Long It Lasts –

I bought this foundation on the 14th of December and it is now February 14th so it lasted me 3 months exactly. To be completely honest I would have expected it to last a little bit longer as most of my other foundations have lasted 4 months onwards. I did however use this foundation a hell of a lot so three months for most days wear isn’t too bad. 

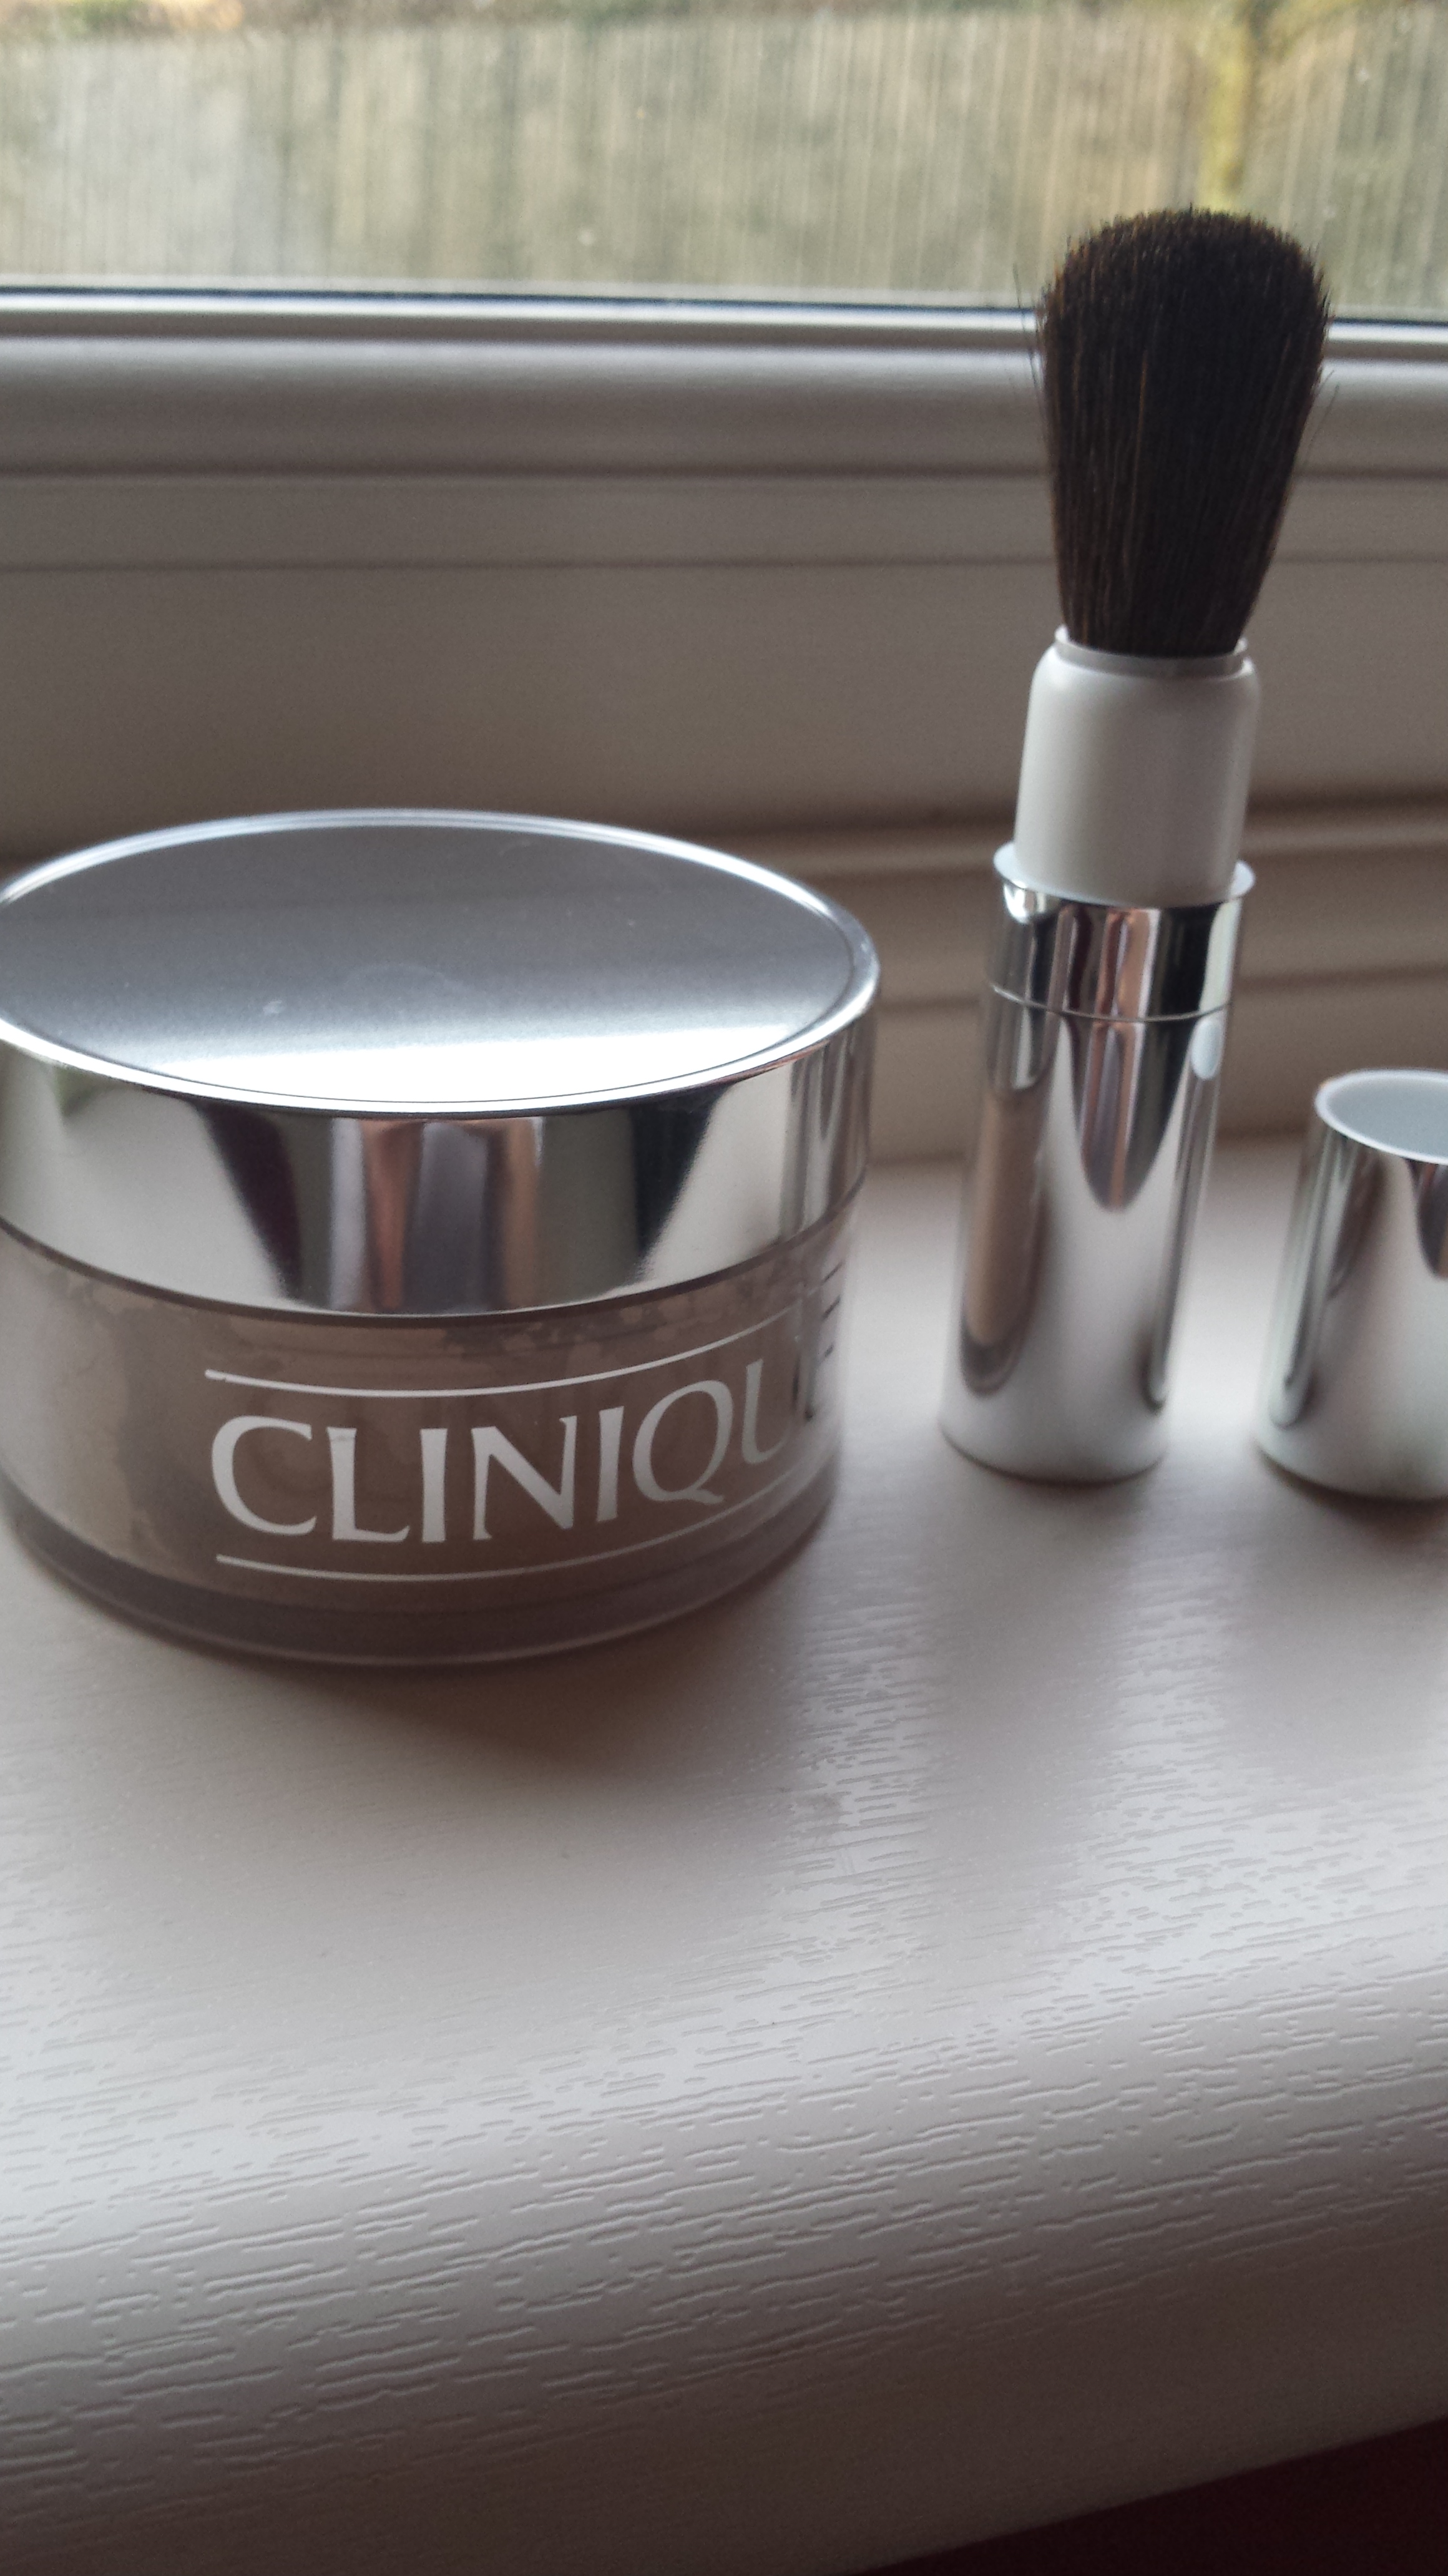
As for lasting power on the skin, I found this foundation to be fabulous with the Clinique setting powder! Its a very light feeling foundation, so automatically I was a bit apprehensive as to whether it would be suitable for me as I’m so used to wearing heavier foundations. When using setting powder it lasts all day, however when you wear it alone it does not.


20141127_152952

Price Range –

I bought this foundation for €21.00 on sale in Debenhams back in December, however the retail price in most stores including Brown Thomas is €32.00.

My Opinion –

I absolutely loved this foundation for an everyday makeup , I forgot I was wearing any foundation because of the light-weight feel. It left my skin in amazing condition and my skin was always soft and subtle.

This foundation does not contain an SPF so when I wore it in photographs the light did not reflect leaving me with a big white face, complete winner in my opinion.

I am used to wearing a heavier foundation and my go-to would be Makeup Forever’s HD foundation but I was shocked at how much I feel in love with this foundation. It gave me the confidence to ease into wearing a light almost skin like foundation. It left my skin feeling like a baby’s-toosh and it completely balanced out my skin. It gave my dehydrated areas moisture, evened out my complexion and didn’t leave my skin with excess oil on the T-Zone area.

Overall I am very impressed with this foundation, if you’re looking for a natural look, day makeup or a go-to foundation then Clinique Superbalanced is definitely worth a try. Pair it with Clinique’s loose powder and you have the start of a perfect base.20141127_152653

20141127_152743

0

Dramatic Eyes ♥

Some of us lady’s love big smokey dramatic eyes for parties, nights out or fancy dress. Its not everyones cup of tea, and wouldnt be my regular choice of makeup but it definitely looks fab for some occasions. My models pulled these looks of amazingly and all look superb! 

On my first model I used cranberry and black eye-shadow on the upper and lower lid. I went in heavy with gel eyeliner and used heavy contouring and highlighting.

Her lips were also super defined, I took my inspiration from Kylie Jenner. Who doesn’t these days? My models choker and school uniform just emphasized the look, so rocker and grungey ! 

PicMonkey Collage

On my next model I used burnt orange and black colour’s along with a hint of brown. Again I used the same method on this model. Heavy contour, heavy smoke and big lips. 

For this model I took a before and after photo to show the dramatic change….

PicMonkey Collage1

Finally I done a lighter smoky eye on my last model, only bringing dark brown to the top of the lid and not underneath. This is her gorgeous before and after. Extra heavy contour and highlight on this model.

PicMonkey Collage3

Product Listings:

  1. Foundation (all models) – Makeup Forever Hd Foundation
  2. Contour and highlight Cream (all models) – Crown Brushes contouring palette available at http://www.crownbrush.ie
  3. Contour Powder (all models) – Sleek makeup contour palette in medium available at http://www.sleekmakeup.com
  4. Brow (all models) – Gosh cosmetics brow palette available in most local pharmacys suppling Gosh cosmetics or at http://www.goshcosmetics.com
  5. Eyeshadows (all models) – Inglot cosmetics available at http://www.inglot.ie or in Blanchardstown shopping centre Dublin/ St Anne St dublin city centre.
  6. Eyeliner (all models) – gell eyeliner by Fuschia available at http://www.fuschia.ie or in fuschia stores/ pharmacys supplying fuschia.
  7. Mascara (all models) – Any , I used rimmel
  8. All over face powder (all models)- Clinique face setting powder available in all stores selling clinique products.
  9. Blush (all models) – Fuschia blush available at http://www.fuschia.ie or in any stores using fuschia products.
  10. Lips (all models) – Inglot lip liner and lipstick found in all Inglot stores and online at http://www.inglot.ie.

Have any of you tried these looks? Id love to hear from you all. 

0

Makeup of the day !

Today I had the privilege of doing some of my boyfriends relatives makeup and I was so super excited ! Any excuse to take out the makeup box!

I decided to do big dramatic eyes, emphasising this beautiful lady’s green eyes ! During this makeup look her eyes changed from a light almost translucent green colour to a deep emerald green .

Before :

IMG_1565.JPG

After:

IMG_1530.JPG

For this look I used two shades , all from my Inglot palette. I used a burnt orange shade and a cranberry shade that I’ve used in my previous posts ‘burnt orange eye’ and ‘cranberry and brown smoky eye ‘ . For more information on the colours view these posts 🙂

As a technique I used what I always do , my cut crease with transition techniques. I use the burnt orange as an all over lid shade an the cranberry as my cut crease/transition shade.

I applied gel eyeliner to the top lash line and water line and I used ardell ‘Demi wispies’ lashes for extra glamour and volume. I always use duo eyelash glue as it dries super fast and is perfect for this look.

When doing my base I used a heavy contour as my model has amaaazinnnggg bone structure! So obviously I couldn’t wait to emphasise this!

To create the big lip look I slightly exaggeratedly models natural lip line to create those gorgeous looking lips with out all the needles haha . I then applied lipstick and lipgloss in a pinky/purple shade.

And this is the finished look 🙂
Hope you enjoyed an don’t forget to get in touch ! X

IMG_1546-0.JPG

IMG_1554.JPG

IMG_1538.JPG

IMG_1547.JPG

0

Burnt Orange Eyes ♥

Hello hello helloo,

Today’s post is on an extremely flattering Winter trend eye-shadow shade -Burnt Orange. For this look I combined a nude base colour (matte) my Inglot shade 383, and a glittery pigmented eye-shadow with hints of yellow gold through it.

  1. I began by taking a matte-nude eye-shadow base from my Fuschia palette. Any shade that is a nude-cream or pale pink/lilac-cream will do. I applied this from my lash line into my brow bone with my sponge-tip eye-shadow brush.
  2. I then began to create a cut crease using my Inglot shade 383(Burnt Orange). I used my flat shader brush for this along with my 110 brush from rebel 66 to blend this shade across and outwards. Instead of using tape on the outside corners of the eyes in this look I used the line of Laura’s natural brow-line to create an almond shape,most flattering to her eyes.
  3. I blended this colour out using my Sigma E40 Brush and then continued to apply the shade all over the lid using my flat shader brush. Again I blended this into the eyes.
  4. For extra depth I repeated these steps once more. This colour is hellllla pigmented so please don’t go all dip happy with this colour. Conjunctivitis isn’t very good looking!
  5. Next I took a yellow pigmented sparkle eye-shadow… I repeat YELLOW. If you use any darker shade with this burnt orange you will loose all effect. It needs to contrast not blend ladies and gents.
  6. Apply this to the inner corners of the eyes and lower lash line. 
  7. Next take an under eye brush-any will do. Apply the burnt orange shade to the lower lash line and blend outwards and inwards towards the inner corner of the eye. Make sure to bring this colour straight across to give the illusion of a longer eye. Its so flattering.
  8. Apply liquid or gel liner to the top lash line. Create a small cat flick following the almond shape of the eye and working toward the brow bone.
  9. Apply gel liner to the inner waterline. If you want extra dark eyes apply a kohl pencil to the tight-line of the eye.
  10. Apply lashings of mascara.
  11. I then applied Ardell lashes – ‘Demi Wispies’ . These are my absolute favourite fake eyelashes for special occasions or going out.

photo (1)

  1. I then started my normal foundation routine, however this look required extra contouring. 
  2. I used a new foundation on this look -Clinique superbalance foundation. Which ill have a review up on as soon as!
  3. Read my post on contouring and highlighting for more info. 🙂
  4. http://blushinbrownies.com/2014/11/11/contouring-like-a-pro/
  5. I finally applied red lip liner and lipstick for gorgeous red lips. Using Seveenteen lipstick and lip liner. Beautiful deep red colour. I highly recommend these products.

1525416_1727726084119883_4821216822040829874_n

This is such a glamorous look,perfect for Christmas and winter as well as any other special event! Thanks for reading and don’t forget to get in touch.

Nicholle-Marie