0

Deep Plum And Caramel Eye ♥

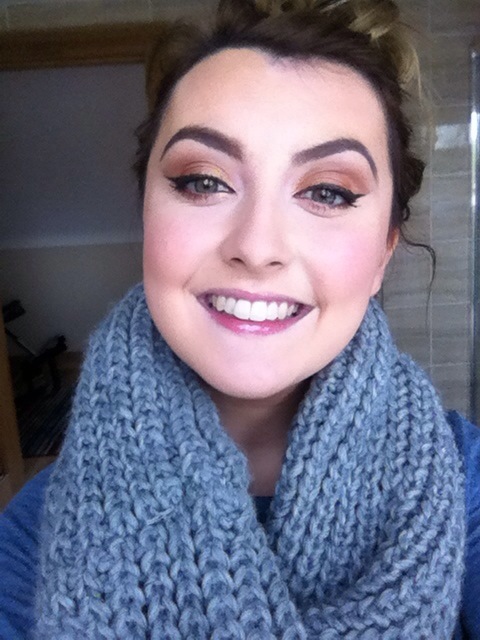
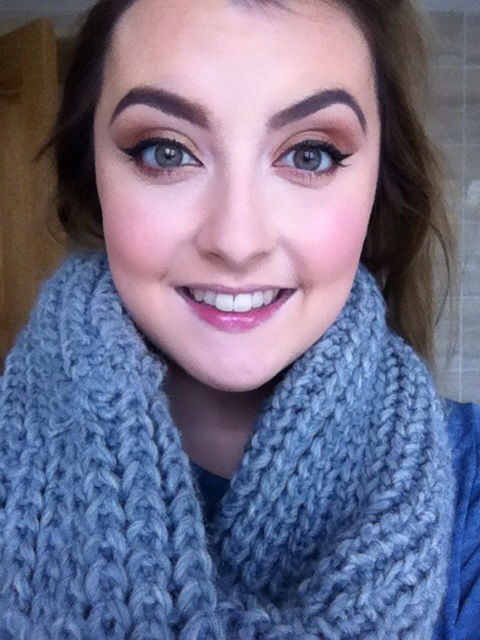
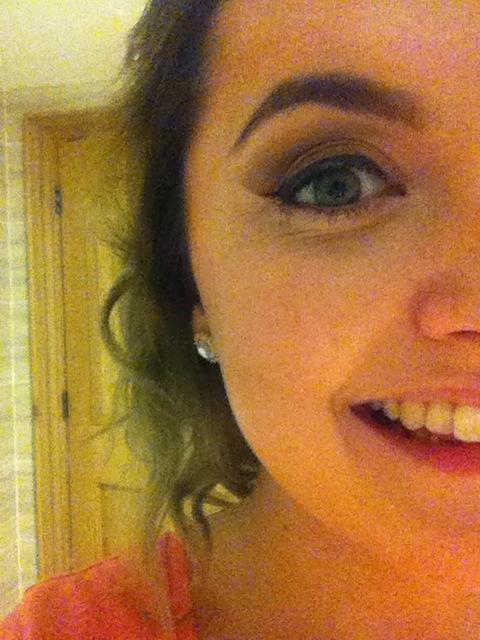
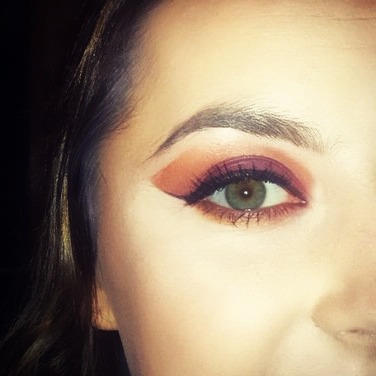
Yesterday I decided to create a makeup look using complimentary colours, that compliment my Green eyes. I decided on Deep Plum eyes with a caramel and vanilla transition. I love these colours together so much and they are so flattering in person! The deep plum colour really makes green eyes pop while the caramel colour gives the eye a smokey look and also helps to take attention away from the deep plum in a way that it’s not to Wow there’s your eyes kind of look.

  1. I began as normal with my foundation routine.
  2. I then applied my primer – this time I used my concealer as a primer (MAC pro longwear concealer) This is great as a primer as it’s quite sticky and heavy, and so it catches pigments beautifully.
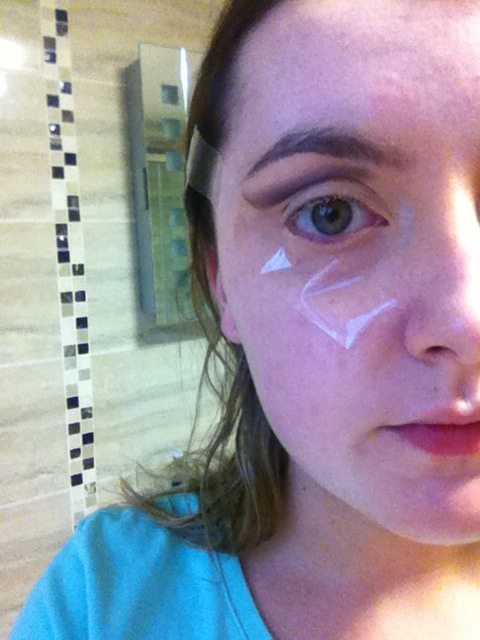
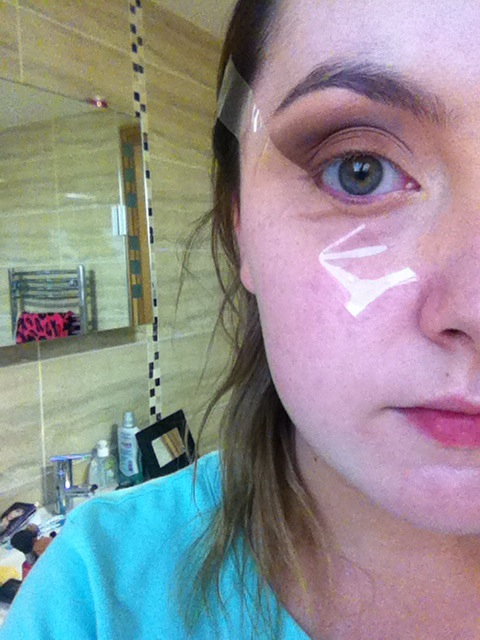
  3. I then applied tape to the outer corners of my eyes to catch any fall-out and create a sharp-crisp edge.
  4. To begin I went in with a caramel based colour (this would be more orange/yellow toned than pink). I used my Fuschia palette and choose the nearest colour to caramel ‘CM18’. I buffed this into the eye forwards and back until it was blended in using my Sigme E40 brush.
  5. Next I took an Orange pigmented eye-shadow and applied this to my crease using a shader brush. Then I went in with my blender brush again and blended everything out.
  6. Finally I took a deep plum shade and applied it to the lid using my flat shader brush. This shade I took from my MAC palette although there was no name attached to the shade. A shade similar to it would be ‘3P’ from Fuschia.
  7. I continued to blend all of this out until I was happy with the consistency of the blend.
  8. Next I created a cat flick using my MAC liquid liner.
  9. I then applied eyelashes using ‘Ardell lashes in beauties’.
  10. For my bottom lashes I applied mascara and took my Sigma pencil brush in with the first shade ‘Caramel’,blending it forward and back.
  11. Next I applied that orange shade blending it back and forth with the same brush.
  12. Finally I applied the deep plum shade with a small flat shader brush and blended it just below the waterline into the two previous colours.
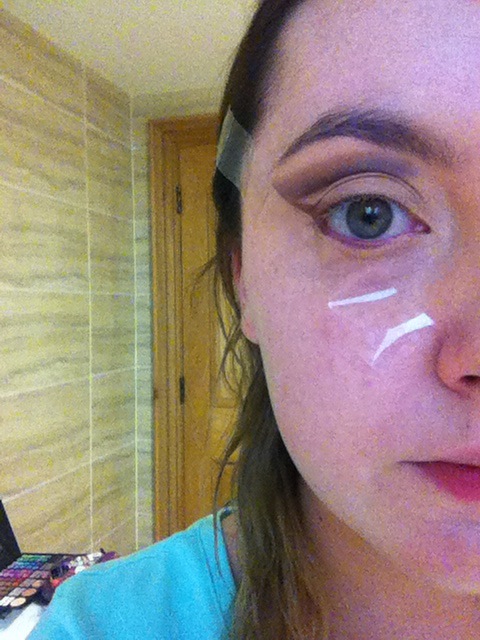
  13. To emphasise the colours in this look I highlighted under the eye very heavily to include the flat of the nose and forehead. For this is used ‘Crowne-contouring kit’ and Ben Nye Banana Powder over this highlight.
  14. Finally contour the areas you wish to to include the cheekbones/nose and forehead.
  15. I applied Mac lip-liner in ‘In Synch’ and ‘Faux’ lipstick by Mac on top.

photo 1 (1) photo 2 (1)

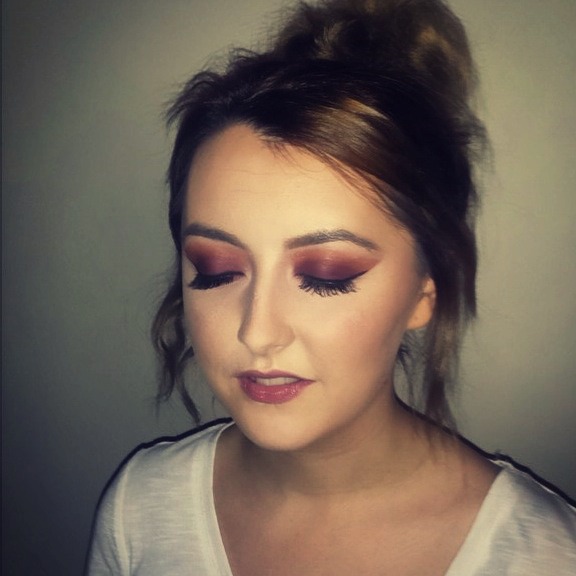
And above is the result ! Don’t forget to follow and get in touch !


0

Big Bold Sparkly Eyes !

In this post I’ll be talking all about how I emphasise my BIG green eyes. I use this look on a regular basis as it’s my favourite eye makeup and it’s SPARKLY !

For this look I apply my base as I would normally every day an then I start the fun part. Zee eyebawlss.

1. Apply an eye primer all over the lid. For this I used urban decays ‘sin’ as it’s got sparkly pigments throughout and complements shimmery shades beautifully. This primer is my favourite of all time and I’d highly recommend it . But that’s for another day !

2. Now take a matte brown espresso type shade and go in to your crease with it. This will add some definition to your eyes as your going to be using such a light shade all over the lid. Any dark brown will do however I used my MAC dark brown shade in ‘espresso’ . LAVE it :)!

3.now the fun starts. I took my Barry M gold shimmer dust pigments and applied it to the lid using any flat eyeshadow brush . I then blended this all in to the dark shade I use earlier using my sigma e40 blending brush. This is an important step as you don’t want the shadow to look clumpy or make it look like it’s just sitting there screaming hi . Haha
Continue to repeat these two steps, applying the gold pigments and blending to build up the colour to your desired effect.

3. Next go in with eyeliner. In this look I’m using ‘MAC-Feline’ kohl pencil.

4.Finally apply lashings of mascara and /or fake eyelashes. I only applied mascara here as this is my everyday makeup.

IMG_1348.JPG

IMG_1349.JPG

IMG_1344.JPG

Thanks for reading, don’t forget to follow for more updates!

0

Step-By-Step Bronze Smoky Eye

Hey hey hey .
This post is on a Bronze Smoky Cat eye I done recently. I decided to take step by step pictures to show you all how I did this look 🙂

First off I started with an eye primer . For this I used urban decays ‘Eden’ . I applied it all over the lid top and bottom . It’s a lovely primer (very thick) and compliments matte shades very we’ll . I used tape under my eyes to get a perfect cat eye shape. Making sure to get each side the same shape .

Next I took my Fuschia gel eyeliner in ‘chocolate’ . I applied a thin line of this liner above where my natural crease would be . Then I took my sigma eye pencil brush and blended it upwards and outwards towards the tape (this is great because you can make as much mess as you want and when you remove the tape you will have perfect clean cut eye shadow .

IMG_1356.JPG

The next step was a transition colour fading outwards and upwards from the chocolate colour . For this I used Maybelline 24hr stay gel eyeshadow in bronze. I used the same sigma pencil brush and blended the colour upwards making sure not to loose the transition of the colour (big fat smudgy eyes ain’t too good 😛 )

IMG_1357.JPG

Next I took my Fuschia palette and took a dark brown matte shade and applied it to the outer corners of my eyes , using the tape as a guideline makes this step so easy . I then blended this colour into the chocolate liner .

IMG_1359.JPG

IMG_1361.JPG

Next I took a sun kissed bronze shade for the middle part of my eyes and blended it into the dark shade in my outer corners . This look is all about spending the time to blend so window wipe that baby ouuuuut . 🙂

IMG_1363.JPG

I then applied the same Fuschia eyeliner in ‘chocolate’ to my eyes following the tape I applied to the outer corners of my eyes to get a crisp line . If you feel like applying liner to your waterline do this step now , however I love my eyes to be as big so I skipped this step .

IMG_1364.JPG

Finally go ahead and finish this look with eyelashes and your base routine . I used Ardell lashes here ‘beauties’ because I wanted very natural lashes .
This picture is after a night out of dancing and singing so be aware my camera wasn’t in the best of light.


IMG_1376.JPG

Hope you enjoyed , don’t forget to follow for more updates !

1

No7 Cleanse & Care Eye Make-up Remover

I recently bought No7 cleanse and care eye make-up remover as my normal simple eye makeup remover had ran out and I thought I might switch things up a bit.

My first impression was that the packaging is very flattering. The use of a translucent bottle to see the blue product inside is a great idea. It makes it more attractive and vibrant. The writing on the outside of the bottle is also great. A very simple idea with a great look about it.

The first time I used this product I made sure to wear lashings of mascara, along with heavy eye shadow and eyeliner. When I took of the lid and tried to squirt out the product onto my hand I realised that a cotton pad was one hundred percent necessary with this product. HOWEVER the pump itself on the product is awful, half the product I pumped out would go over the bathroom sink instead of in my hand. Not a good time NO7, not a good time.

20141105_162626

It’s a more oil based product compared to my usual creamy based makeup removers but that didn’t worry me too much and it shouldn’t worry you either unless you have a specific skin type that should not be using oil based makeup remover s like an oily skin type. This makeup remover is fine for sensitive skin and eyes as I have very sensitive skin and found no irritation at all. Although as you all know everybody is different and don’t take my word as the gospel either ….well too much har har har.

Take 2 was followed by a cotton pad and I was pleasantly surprised. This makeup remover certainly cut down on my heavy duty eye makeup fairly quickly and my drag queen eyes phase didn’t last too long while removing my mascara.

I bought this product in boots for €11.00, yes I know it’s on the pricy side but I realised when using it that you only need a small amount of product on the cotton disk so it’s very affordable when you think that this product may last up to two months.

It was quite a change for me as I’m used to using more of a cream based eye makeup remover  however I didn’t find the change as scary as I thought I would…. goblins and ghosts hiding at the bottom of the bottle and all that. Overall my

Review of this product was good. The product itself is brilliant cutting down on makeup and doing its job correctly. However the design of the bottle could use a little oomph to make it easier to use and more people friendly.